Loan Transaction
Internal Control
Approval Service
Issue/Reissue
Digital Certificate
Step 1. Create a new approval line by clicking on Add
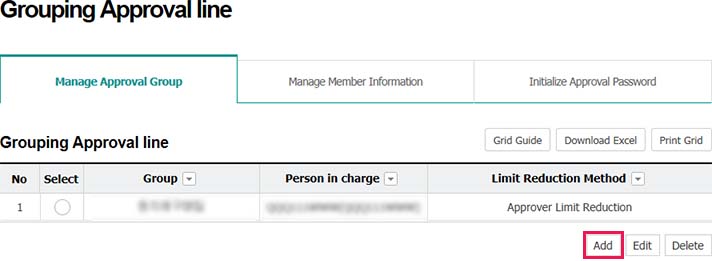
- ① Master User creates approval group and adds members thereto. Then, Person in Charge of Approval designated by Master User makes approval lines by business. [But, if Master User designates himself/herself as Person in Charge of Approval, Master User can create approval lines by business (recommendation)]
- ② Approval group can be created through either Approver Limit Reduction or Registrant Limit Reduction, according to a customer’s request.
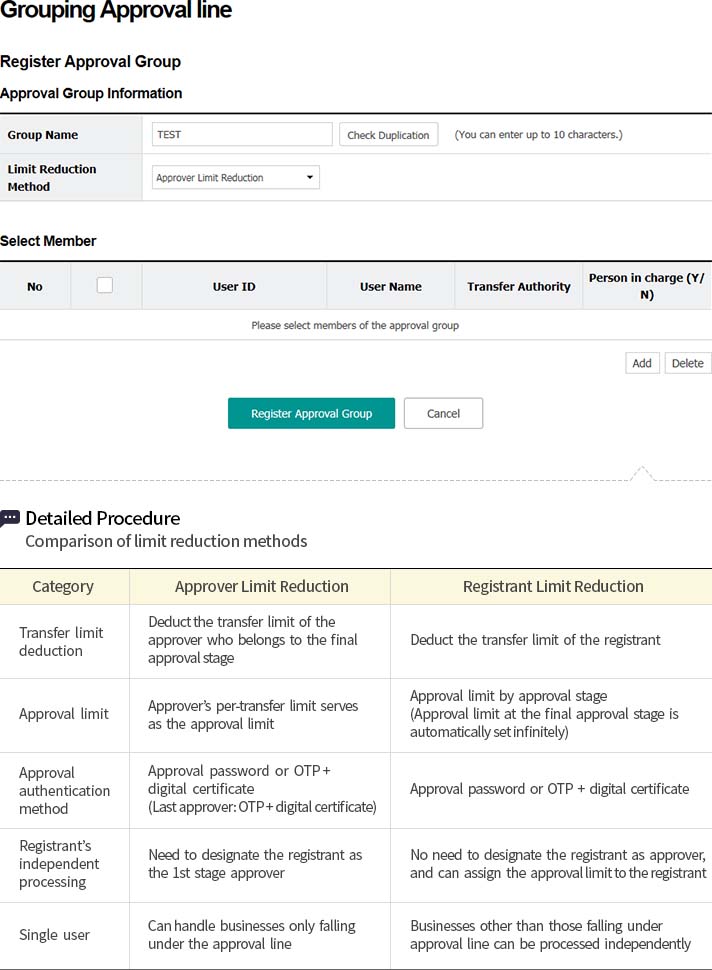
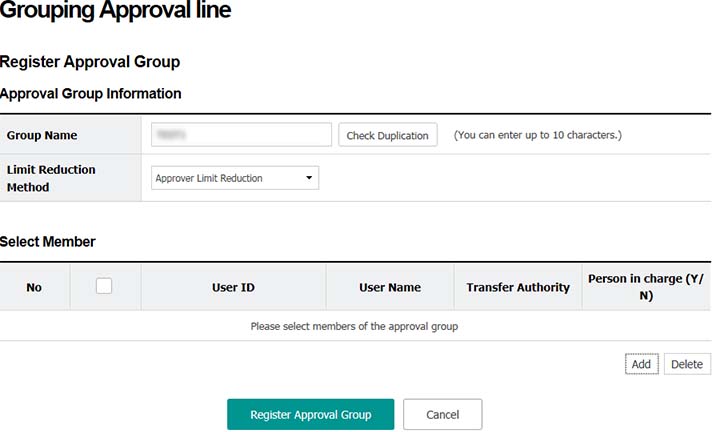
Step 2. Enter the name of group and select a limit reduction method. Then, add members by clicking on Add.
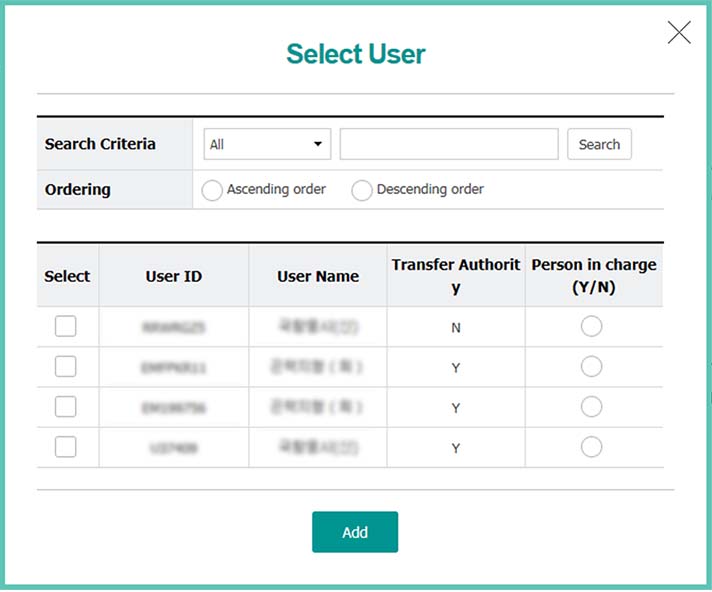
Step 3. Select user(s) who can participate in the approval line and choose Person in Charge who can create/amend/delete the approval line before clicking on Add
Step 4. Click on Register Approval Group
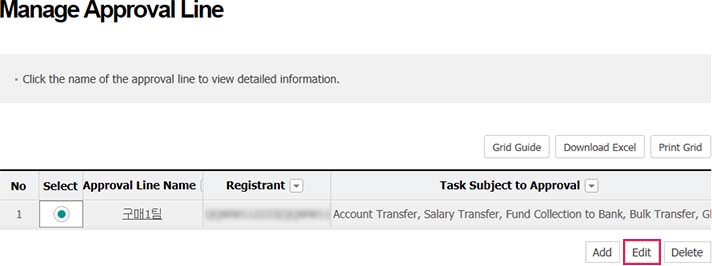
Step 5. Select a group and click on Edit
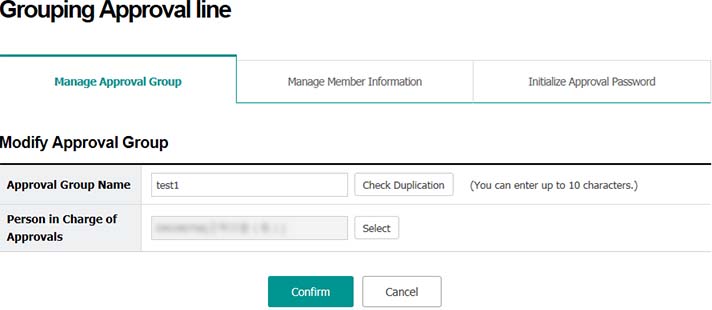
Step 6. Modify the name of approval group or person in charge of approval before clicking on Confirm
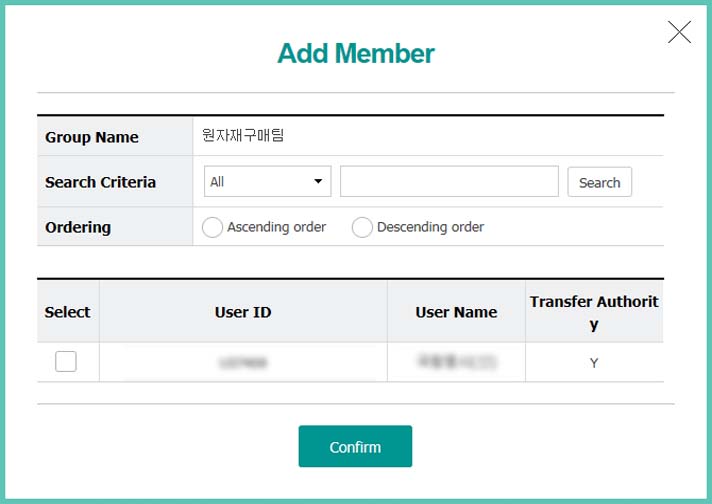
Step 7. Check the members inquired and click on Add Member
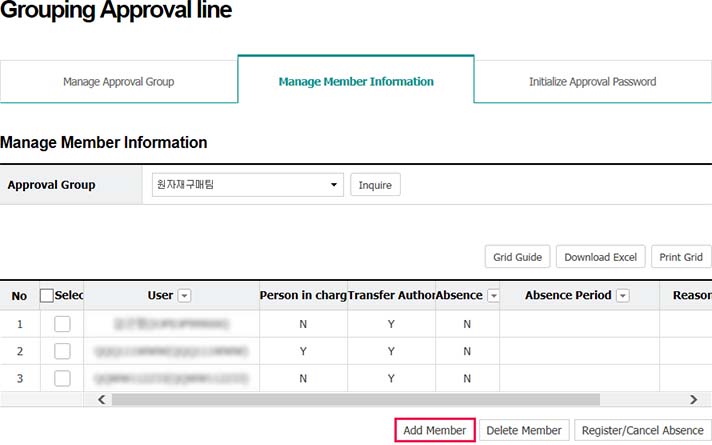
Step 8. Select a user and click on Confirm
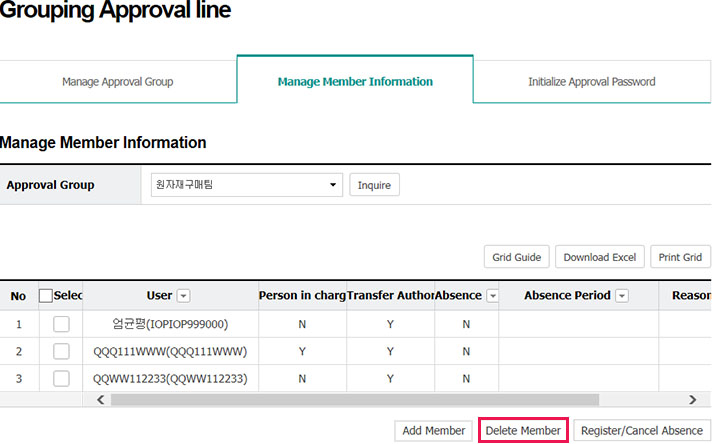
Step 9. Inquire members under the approval group and select members to be removed before clicking on Delete Member
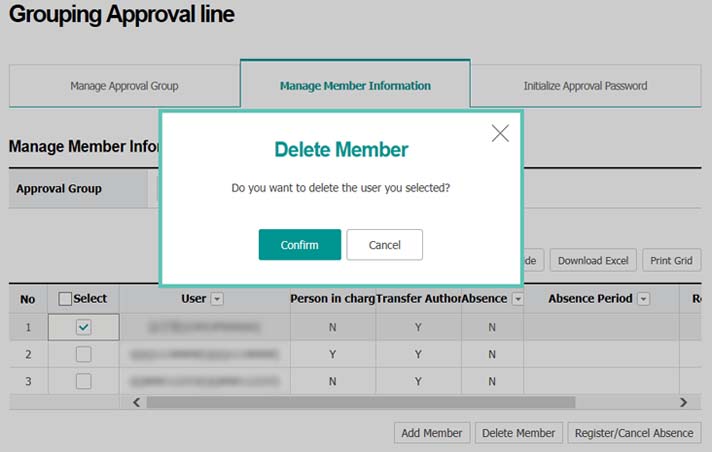
Step 10. Click on Confirm in the pop-up window
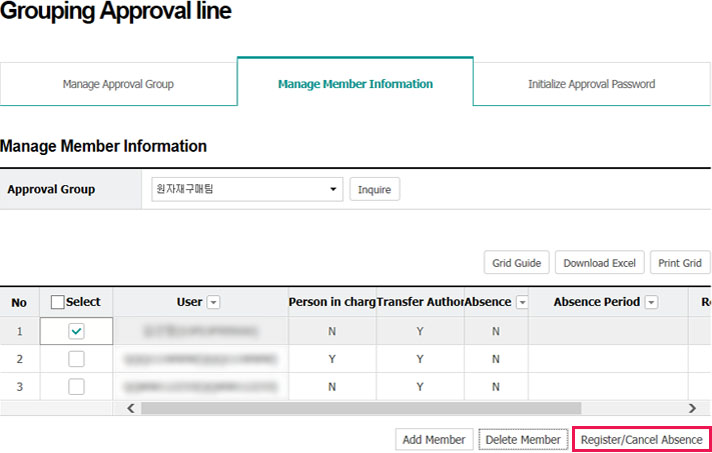
Step 11. Inquire members under the approval group and select members for which absence is registered, and click on Register/Cancel Absence
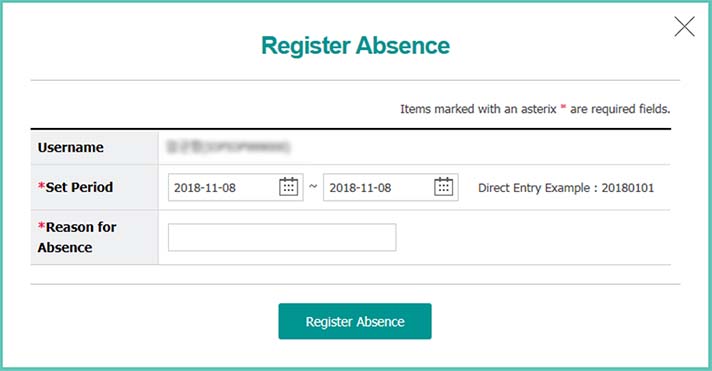
Step 12. Enter the period and reason of absence and click on Register Absence
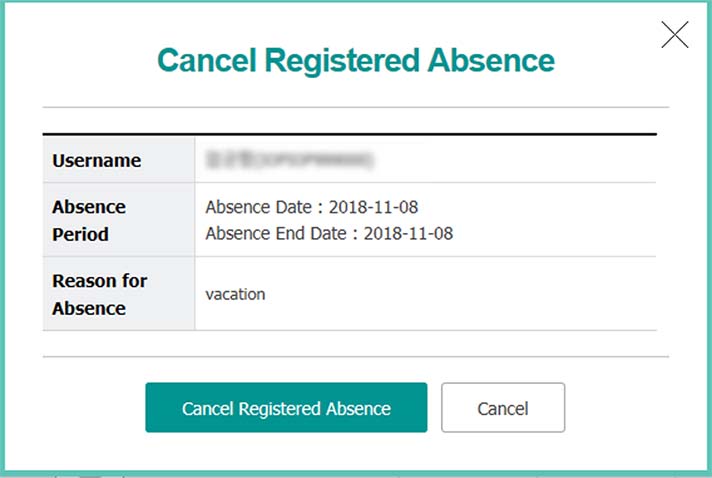
Step 13. When cancelling the registered absence, click on Cancel Registered Absence in the pop-up window
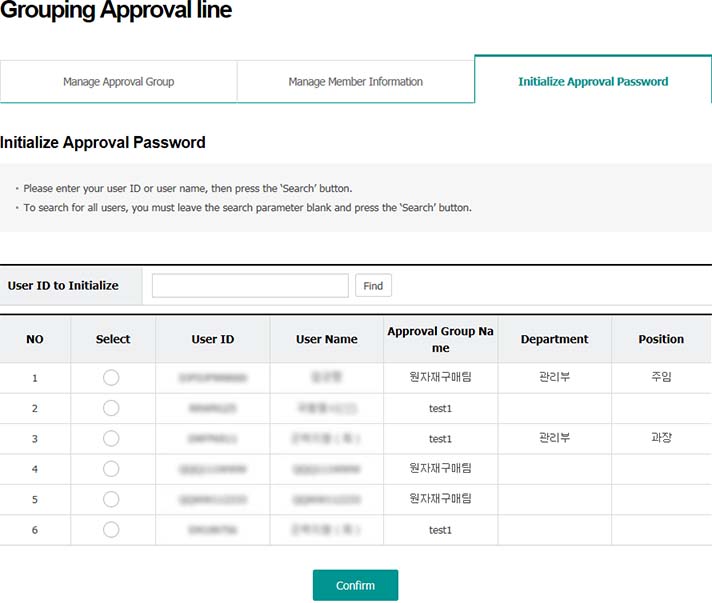
Step 14. Enter user ID or user name and click on Find

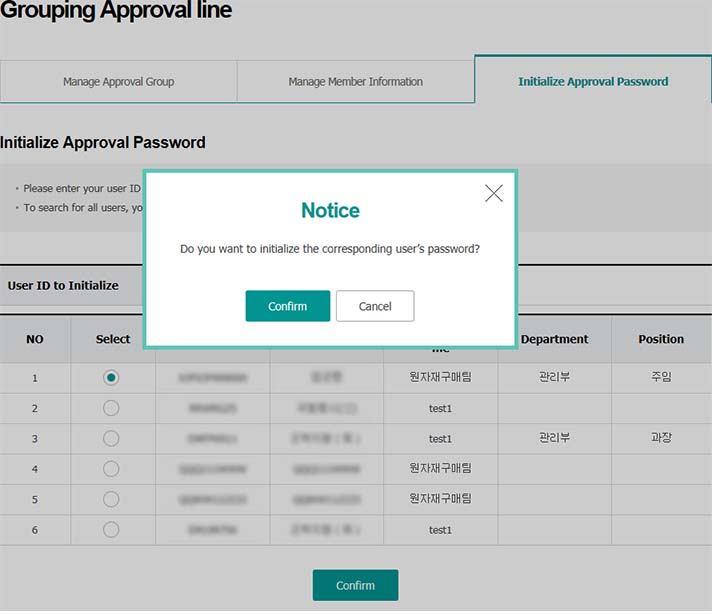
Step 15. Select users whose approval password will be initialized and click on Confirm
Step 16. Click on Confirm in the pop-up window